Showing posts with label My Favorite Things. Show all posts

Thursday, August 27, 2015

Pretty in Pinks...

Hi again, everyone! Today's share is a shabby sweet card in one of my favorite "soft color" combos-rose pink and taupe...


Beautiful patterned papers from Maja Design's Vintage Summer Basics collection are still some of my favorites, so much so that I save all the smaller leftover pieces from other projects because I know I'll eventually use them on cards, such as this one! 

In the center of the florals, there are three cherry blossom flowers made with LaLa Land Crafts' die...they're surrounded with premade mulberry paper lilies and sweetheart blossoms from Wild Orchid Crafts. Those bunches of beautiful dark stamens peeking out from top and bottom of the cluster are from my go-to source for stamens, ChocolateLetters on Etsy...


The lace is a piece of cream lace dyed with Distress Inks to blend with the dusty pinks in the rest of the embellishments ("Spun Sugar" mixed with a bit of "Victorian Velvet" and just the littlest bit of "Picked Raspberry")...


The little die cut palm fronds branches are made using My Favorite Things' Wild Greenery die...it's another of my newest favorites...


Supplies:
Patterned papers:   Maja Design "Vintage Summer Basics" collection
Dies:   LaLa Land Crafts "Cherry Blossom Flowers";   My Favorite Things "Wild Greenery"
Mulberry paper flowers:   Wild Orchid Crafts             Stamens:   ChocolateLetters on Etsy
Pearls:   Recollections             Liquid paints:   Lindy's Stamp Gang "Bodacious Blush" & "Toto's Tornado Black"
Miscellaneous:   cheesecloth,   twine


Thanks so much for visiting today...have a wonderful weekend!


Monday, July 27, 2015

Flowery Mixed Media All Occasion Card...

Happy Monday, everyone! Today's share for Mixed Media Monday is a summery all-occasion card.

I did take step-out photos as I went along this time, but then I pulled a total Homer-Simpson-DOH! move and reformatted the card in my camera before I double-checked to be sure I had transferred the photos to my computer. (It was a busy and stressful week around here last week with a very ill family pet, so I prefer to think that was the reason for my distraction....more than likely it was simply lack of good sleep...LOL)

So if you see items on the supply list and wonder "where are they?" they're most likely on the base of the multi-layered background, and now slightly covered with the flowers and embellishments...


I started by coloring a piece of mixed media paper with Lindy's Stamp Gang sprays, then adding some die cut lattice shapes in two corners, and molding paste through a stencil across most of the front. 

In the lower left corner, I die cut a couple pieces of paper doily, colored them with the same sprays, and layered one on top of the other, with foam tape and a piece of lace between the two. Then both upper right and lower left corners got more stenciled molding paste for texture.

Here are a few closeups around the page...in this photo, you can barely see the edges of the two die cut doilies with the lace between them...


The two fuchsia-colored flowers were made using Spellbinders Rose Creations dies, but forming them into generic flower shapes instead of roses...


One day while we were out shopping together at a fabric store, my friend was searching through the remnant bin for animal prints, and found a beautiful piece of wide, sheer lace...she told me it was destined to go home with me...LOL...so it did...and a piece of it was a perfect subtle addition to the lower right corner of this card...


Lately I find I love to add little details up in the corners of my cards...and this one was no exception...


Supplies:
Color mediums:   Lindy's Stamp gang sprays - Screamin' Banshee Black,  Pink Ladies Pink,  Tilt a Wheel Teal
Stencils:   Prima "Flourish";   The Crafters Workshop "Mini Circle Explosion"
Dies:   Cottage Cutz "Tea Time Doily";   My Favorite Things "Wild Greenery";   Spellbinders "Rose Creations" and "Grateful Lattice"
Lace:   TheFunkieJunkie.com and local fabric store             Small roses:   Wild Orchid Crafts
Stamens:   ChocolateLetters on Etsy            Pearls:   Recollections
Miscellaneous:   Golden molding paste,  cheesecloth


Thank you for visiting today...I hope your week is starting with a smile!

Friday, October 3, 2014

Happy Birthday - Masculine Mixed Media Card

TGIF...Hurray for Fridays!

Early last week, I shared a fun mixed media canvas with lots of deep colors and feminine accents and embellishments. As I was making that canvas a few weeks ago, I was thinking how the colors might be the perfect combo for a masculine birthday card I needed at the end of September.

So once I finished the lacy, flowery canvas, my mind started turning in a less "frilly" direction, and for the first time in a long time, a masculine card came together quickly!


This time, I used some patterned papers over the painted background, accenting them with a piece of white burlap, one of my favorite wire dies, a torn piece of ticket, a metal bookplate, and some die cut leafy accents. There's another resin bird-on-a-branch, again colored with medium and dark blue, but this time accented with a dark sepia spray...


I used a combination of stamped words and a large die cut word for the sentiment...


Here's how the base piece looked before adding the papers and embellishments. This time, I used a light tan spray, added the medium green, then medium and deep blues...no orange in the background this time...


Supplies:
Patterned papers:   Authentique Enchanted collection
Sentiment stamp:  Winnie & Walter "The Big, The Bold, and The Happy"
Color mediums:   Lindy's Stamp Gang Flat Fabios (Danny Zuko's Denim,  Ocean Breeze Blue,  Merry Go Round Green,  South Shore Sand,  Sandra Dee Sepia)
Dies:   Simon Says Stamp "Happy Birthday";   La-LaLand Crafts "Diamond Wire" and "Berry Flourish" ;  
My Favorite Things "Four Corners Dienamics"
Resin Bird/Branch:   Prima            White burlap:   TheFunkieJunkie.com
Miscellaneous:   Tim Holtz Ticket and Ornate Bookplate;  Liquitex Ink!-Carbon Black;  Cinnamon stickles


Thanks for visiting today...have a wonderful weekend!


Friday, September 19, 2014

LOTV - Treasured Friend...

Happy Friday, everyone! Today's card for LOTV's Pretty Papers Challenge is another showcasing several paper lines, and definitely fall-themed!

This time, I used patterned papers from Enchantment (brown stripe, small leaves, large leaves), Father Knows Best (gold solid, text), and Snow Princess Solids (dark purple) paper pads to create a card that mixes rustic and elegant together on a shabby-chic card...


Foam tape was used beneath each layer to give the sentiment block more dimension in the center of the card. The sentiment is from Set 29, Vintage Sentiments-Just to Say ...


In opposite corners, there's a small floral cluster centered with a rose made using Spellbinders Rose Creations dies...


Supplies:
Patterned papers:   LOTV Enchantment, Father Knows Best, Snow Princess Solids
Stamp:   LOTV Set 29,  Vintage Sentiments-Just to Say
Dies:   Spellbinders Labels 18, and Rose Creations;   My Favorite Things Royal Leaves
Burlap paper:   DCWV            Purple roses:   Wild Orchid Crafts             Pearls:   Recollections
Miscellaneous:   Maya Road leaf stick pin,  hemp cording


Tomorrow's the next open day at LOTV's shop...hopefully, if you're nearby, you can stop by the shop and join in the fun!


Thanks for visiting today...have a wonderful weekend!


Monday, September 15, 2014

Autumn Blessings...

Happy Monday! Even though temps are still near 100 degrees around here, it's almost officially fall, and I'm in the mood for some fall colors...how about you?

Today's card is made in traditional fall tones of brown, rust, and tan, with a single dark purple accent for fun...


If you've been looking in here at the blog for a while, you might recognize that twig wreath...I used one like it last season, only with a totally different color scheme in the background. This year, I've added some more accents to it, and backed it with a large, more formal die cut that I've shabbied up by accenting it with Vintage Photo Distress Ink.

I added an embellished stick pin and a small purple twine bow at the top of the heart and flower cluster this time around...


and this year, all the leaves are accented with Cinnamon Stickles...


I printed the sentiment on my computer and die cut a tag for it before tucking in it under the heart flower cluster...


Supplies:
Patterned papers:   Glitz Designs French Kiss collection
Dies:   Spellbinders Gold Majesty Circles;   Impression Obsession Twig Wreath;   My Favorite Things Royal Leaves;
Xyron ShapeZ-Heart;   Sizzix Flowers Branches & Leaves
Pearls:   Recollections            Miscellaneous:   Cinnamon Stickles,  stick pin,  purple twine


Thank you for stopping by for a visit today...I hope your week is starting with a smile!


Friday, June 27, 2014

Last But Not Least...

Of all of this week's shabby squares, today's is the most heavily embellished.  I started with papers in grey and white, and added orchid purple as an accent color. I continued to use those colors in the embellishments, and added the dusty aqua leafy flourish as what I call the "resting color," the place where you eyes take a break from the same three colors used on the card.

I double-cut the large doily die on the top half of the card - once in palest grey and once in darker grey - and offset the darker one below the lighter one to provide some contrast and dimension to the shape. The smaller Wilton paper doily was colored with Distress Inks to get it to the shade I wanted to blend with the other orchid colors...


Here are the closeups around the front...


At the center of the cluster is a rose pendant made from air-dry clay. I used a stiff brush to apply the light grey acrylic paint around the outer edges, and I was able to "shabby" the edges of the clay this way. It's a subtle effect, but a fun one...


Supplies:
Patterned papers:   My Minds Eye Lost & Found/Antique
Dies:   My Favorite Things Leaf-Filled Flourish;   Tim Holtz Distressed Doily
Flowers:   Wild Orchid Crafts          Pearls:   Recollections
Rose pendant:   Martha Stewart mold and air-dry clay          Punch:   Martha Stewart Braided Ruffle
Miscellaneous:   Hug Snug seam binding, Wilton doily, cheesecloth


Thanks for visiting today...have a fun weekend!


Tuesday, June 10, 2014

I Will Never Forget...

You're not seeing things...I'm here two days in a row this week! In fact, there will be a post every day this week, since I want to squeeze in one more masculine-looking card at the end of the week before Father's Day on Sunday.

Today's card is another Sanketi inspired card. I was so intrigued with her free-flowing style when she taught a segment of the Watercolor for Cardmakers class over at Online Card Classes (you can still sign up and take this class if you're interested), that hers was the first technique I played with once I had time to sit down and create. There's no question I still have a long way to go, but it sure is fun working my way there!


And just a couple closeup views...


Supplies:
Stamps:   Penny Black "Flower Garden" ;   My Favorite Things "LJD Forget Me Not" (sentiment)
Watercolors:   Koi Sakura


Thanks for visiting today! I'll be back tomorrow with a multi-card post showing another watercolor technique. Have a great day!


Saturday, May 10, 2014

LOTV - Success is Natural...

Happy 10th Birthday, Lili of the Valley! Today's the day of the big celebration at the Leeds shop, with new products being available for purchase, demos by design team members from around the globe, and an online party for those unable to attend in person. It's a fun day! I hope you'll have some time to participate in some of the fun. If you'd like to join in on the online festivities, head on over to LOTV's  Facebook page, click on the "Events" button, then "Join" at the virtual party tab.

The card I'm sharing today is a card of encouragement and congratulations, with a sentiment that's perfect for not only the celebration going on at LOTV, but also appropriate for a high school/college/university graduation card. I've featured patterned papers from LOTV's Antebellum  (pink sentiment block), Country Lady  (white floral), and Beach Bliss (green background) paper pads for the backgrounds...


with a large floral cluster of pink and white roses, sweetheart blossoms, pearls, and lace, all atop a swirly, leafy flourish...


and a large sentiment from Set 63, Quotables/Go For It at the center of it all...


Supplies:
Patterned papers:   LOTV Antebellum, Country Lady, and Beach Bliss collections
Sentiment stamp:   LOTV Set 63, Quotables/Go For It
Dies:   My Favorite Things Four Corners and Leaf-Filled Flourish
Flowers, stamens:   Wild Orchid Crafts
Pearls:   Recollections          Lace:   TheFunkieJunkie.com


Thanks for visiting...hope you're able to join in on the birthday fun some time today! Have a wonderful weekend...


Tuesday, May 6, 2014

LOTV - Birthday Fairy Blog Hop!

Good Wednesday morning, everyone - it's time for another Lili of the Valley blog hop! This time, we're celebrating the release of 10 new Birthday Fairy stamps that will be available for purchase on the LOTV website starting at 10AM (UK time) on Saturday, May 10, as we celebrate LOTV's 10th birthday. (Notice the "10" theme going on here? )

The shop in Leeds is open Saturday for the birthday celebrations. There will be so much going on, and design team members from all over the world will be there, along with new products, demonstrations, and special offers throughout the day.  It's going to be a fun day!

If, like me, you're unable to get to the shop in person, fret not...there will be some online fun going on and details will be released soon about those.  Lucy will be on LOTV's Facebook site throughout the day, bringing you news, chats, and pictures of the celebration. (To join the virtual party, click on the "events" tab on the LOTV Facebook timeline page linked, and you'll see a button to join the online party.)

And now for the hop details. Simply travel from one blog to another, following the links on each post, for some fun inspiration using the new images.

As always, we'll have some hidden prizes along the way. Two winners will be randomly drawn from all comments left on the participating blogs. Even we design team members don't know who the "lucky blogs" are, so make sure to comment on each one to give yourself the best chance of having your name drawn as one of two lucky winners of a full set of the new Birthday Fairy stamps!

The two lucky winners will be announced on the Ideas to Inspire blog on Saturday morning!

Here's the linked up list of blogs participating today...


Kathy (you're here!)
Lou

As you may already know if you've "hopped" with us before, my focus on the team is the use of the beautiful papers and the sentiment stamps. Today my card is showing off the beautiful and spring-filled colors of the Promises patterned papers and coordinating Promises solids, and uses Sketch #10 from the I2I blog as inspiration for the layout...


For the sentiment circle snuggled in among the flowers, I used Set 9, Mixed Circular Sentiments, and for the sentiment in the upper right, Set 25, Handwritten Phrases...


This little butterfly is from Set 66, Grunge Elements...it's colored with Spectrum Noir pens, and sparkled up with Crystal Stickles and a few little pearls...

Patterned papers:   LOTV Promises and Promises Solids
Stamps:   LOTV Set 9/Mixed Circular Sentiments,  Set 25/Handwritten Sentiments,   Set 66/Grunge Elements
Dies:   Spellbinders A2 Scalloped Borders Two;  My Favorite Things Leaf-Filled Flourish;   
Poppy Stamps Massa Leaf Background
Flowers:   Wild Orchid Crafts          Lace:   TheFunkieJunkie.com          Pearl spray:   local craft store          
Pearls:   Recollections          Clay corners:   Martha Stewart mold and air dry clay


Your next stop on the hop is a visit to Crafty Lou's for some more fairy stamp inspiration.  Remember to stop by the I2I (Ideas to Inspire) blog on Saturday to see if you're one of the two lucky winners.

Thanks for stopping in for a visit...have fun, and good luck, on the hop!


Monday, April 28, 2014

Color....COLor...COLOR!...

Happy Monday, everyone! After a short break, I'm back to creating a bit more regularly now, and I'm having some fun in my craft room again.

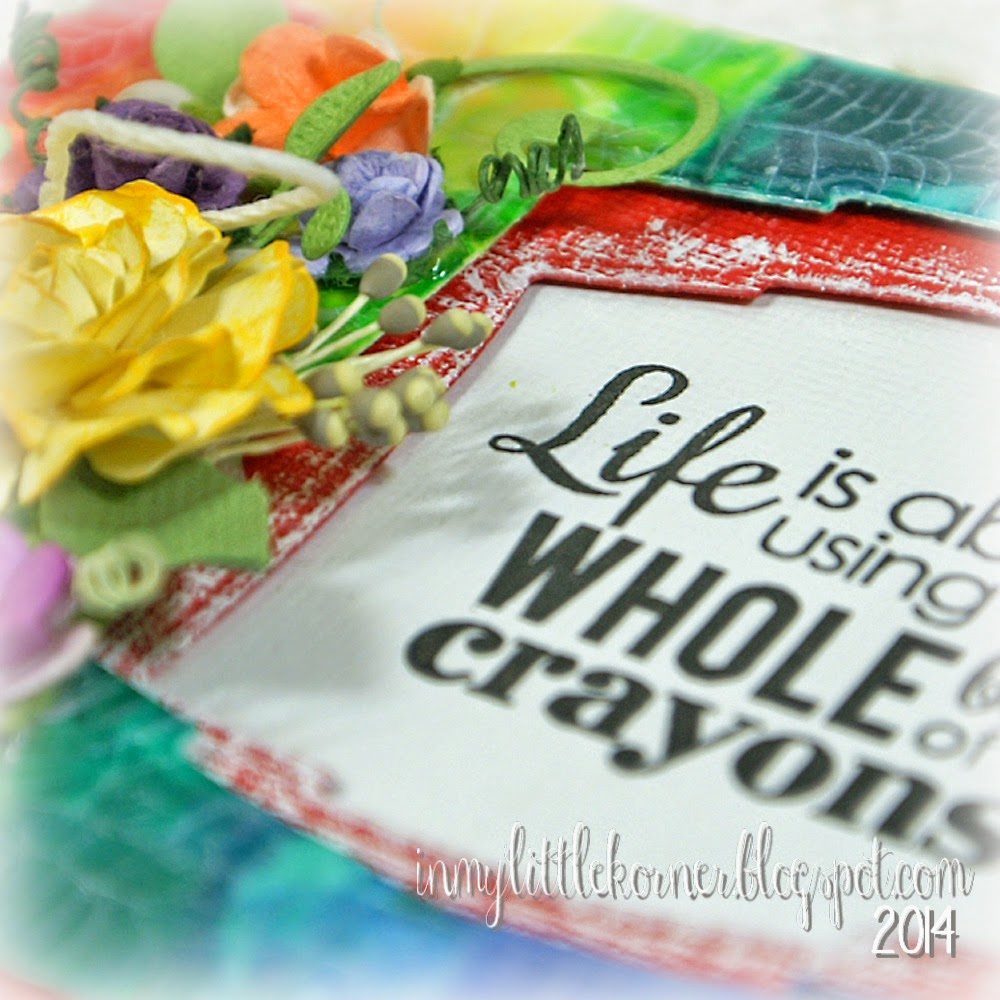
Recently, I purchased some fun sentiments from Reverse Confetti, and when I saw the sentiment on the first card, I knew exactly what I wanted to play with! It's been a long time since I played with crayons...even longer since I played with melted crayons. But the sentiment stamp was just begging for this to happen again...


Years ago during a sale at a local big box craft store, I loaded up on boxes of crayons, specifically for crafting. A peek in my closet of supplies revealed I still had 3 boxes left....perfect for what I wanted to do as my background for this sentiment stamp! 

I used a piece of cold press watercolor paper, cut slightly smaller than the front of the card so I could mat it over another layer before attaching it to the front of the card. The watercolor paper is nice and heavy, and is a bit more absorbent than cardstock, which is a good characteristic to have in this case.


I taped a rainbow-array of crayons together using painter's tape, and taped them to an old wooden cutting board that I keep handy for crafty purposes. (I used the board this time because it's easier to lift one side of the board as I melt the crayons, allowing the wax to drip down the front of the piece of watercolor paper). The red on the side was my "test run" to see if the wax would drip the way I wanted it to...once I knew it would, I placed all the crayons on top of the piece and was ready to start heating and melting. I stamped the sentiment and taped it down so I'd have a blank space to do the final sentiment stamping after the wax was melted. (In the end, it didn't matter, because I decided to do offset die-cut shapes instead.)


And then the fun started. Slowly, I melted the crayons, lifting one side of the cutting board up slightly so the wax would drip down the front of the piece. If you look back at the finished front, you can guess what step was next. I lightly and carefully reheated the dripped wax, and this time, instead of being careful to keep the heat gun in position to melt the wax straight down the front, I moved it back and forth a bit, so some of the wax moved sideways, covering all the white space and blending a bit with the colors to either side.

When it dries, you have a blended coating of colored wax on the card front piece - and a bit lumpy in places where it pooled - but no worry, that will be remedied with the next step. :)  

Now it was time to die cut a shaped opening for the sentiment. The die easily cut through the watercolor paper and crayon wax, and in the process, flattened out all the lumpy parts caused by the dripping wax. (The only thing I "measured and matched" here was to make sure I tilted the top die the direction and angle I wanted - I decided to tilt both diecuts in opposite directions as a fun change to keeping them straight.)

The final steps were to add a coat of clear crackle finish, and when that dried, some Picket Fence Distress Stain over the crackles to emphasize them.

All that was left was to mat another piece of die cut colored cardstock beneath the wax piece, and adhere both to the card base. (I used foam tape between all the layers to give some dimension to the sentiment area.) 

Diecuts, flowers, lace, pearls...time to have fun with some colorful embellishments! The large yellow rose is made with Spellbinders' Rose Creations die...


Supplies:
Stamps:   Reverse Confetti "Dream in Color"
Dies:   Spellbinders Labels Two;   Spellbinders Rose Creations;   My Favorite Things Leaf-Filled Flourish
Flowers:   Wild Orchid Crafts          Lace:   TheFunkieJunkie.com          Pearls:   Recollections
Miscellaneous:   crayons, twine, Picket Fence Distress Stain, DecoArt One-Step Crackle Finish, white craft paint


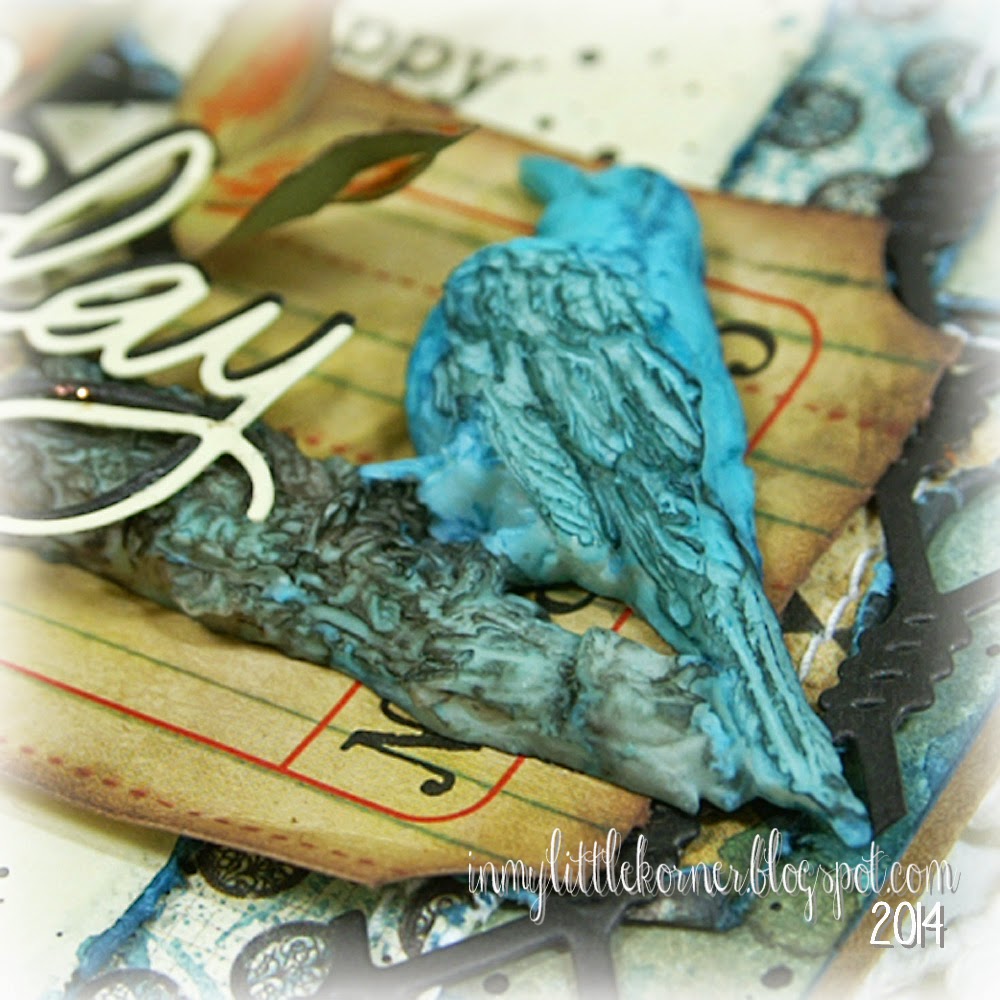
The second card, made with a different group of sentiment stamps from the same Reverse Confetti set, came out totally different...colorfully shabby and fun. This time, I took a piece of text patterned paper, and stamped it with watercolor shapes from a few different sets of stamps, and used that as the base of the card.

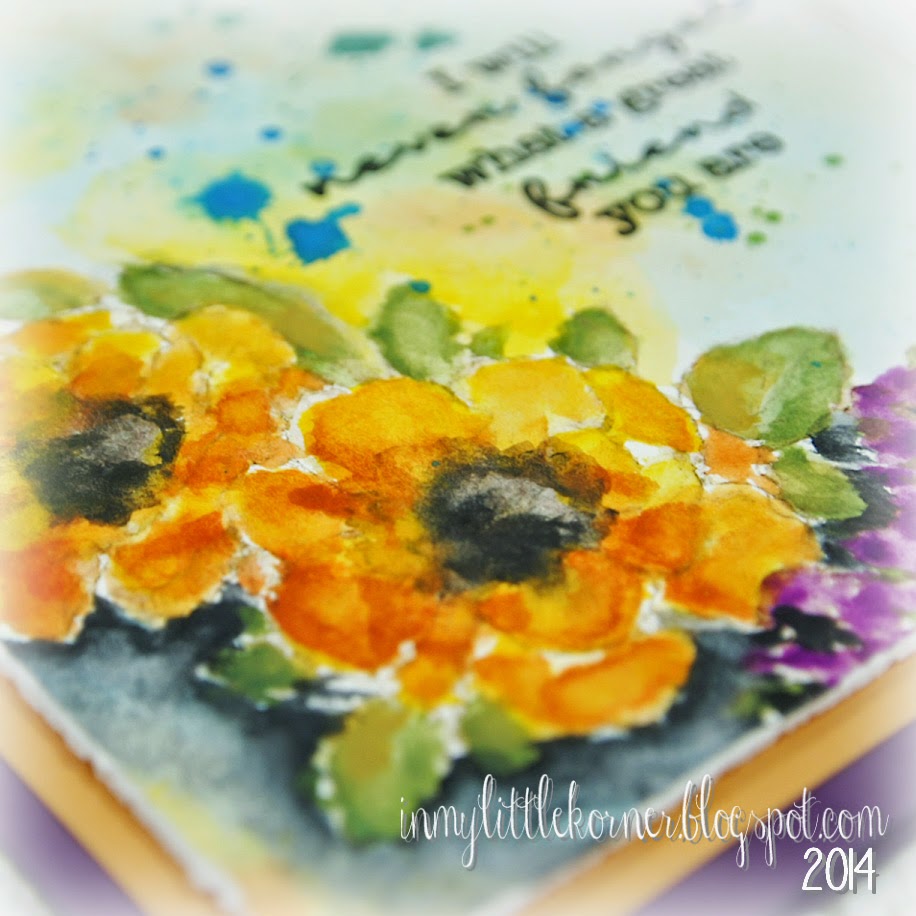
I stamped the sentiment onto a die-cut piece of watercolor paper, then used Distress Inks to "watercolor" patches of color over each of the larger letters in the sentiment...


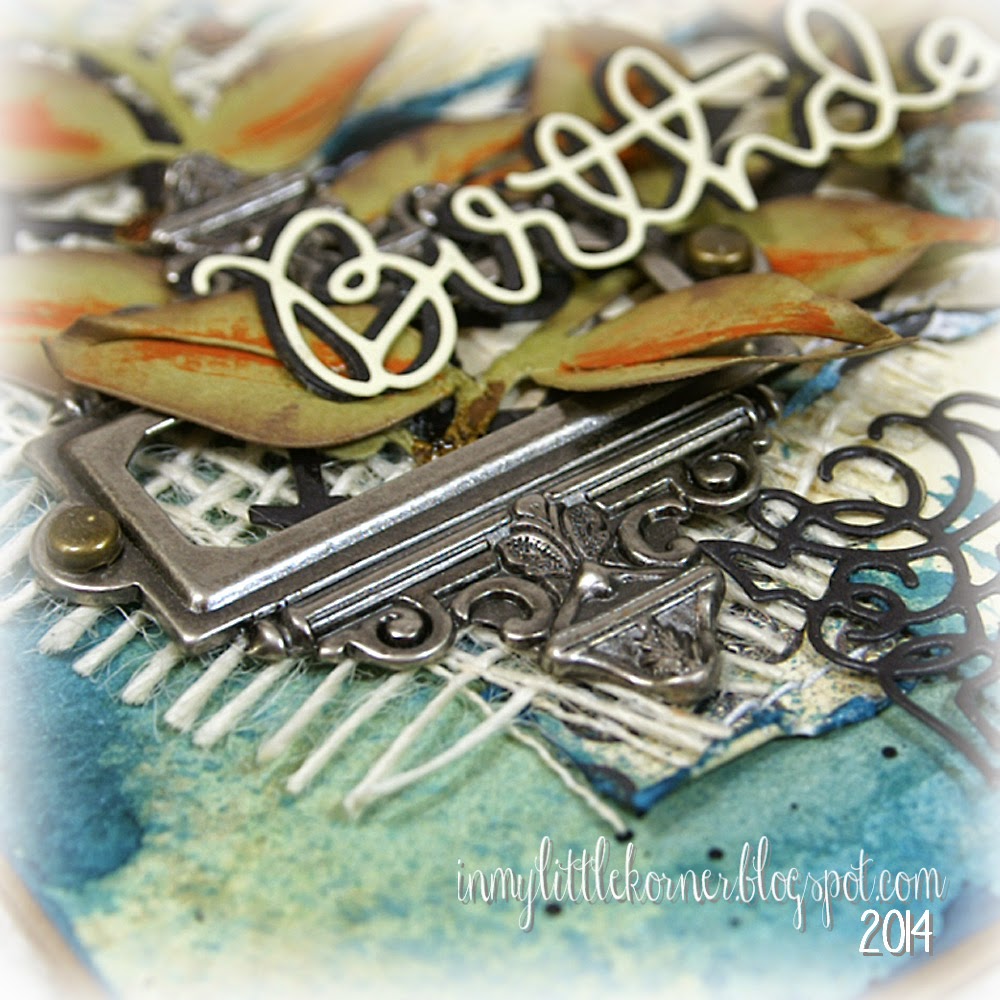
I pulled the colors from the background to watercolor the sentiment block, and used those same colors within the floral cluster...


The little butterfly was punched from pink cardstock and purple patterned vellum, then touched up with a light dusting of Diamond Stickles...


Supplies:
Patterned paper:  Maja Designs Vintage Summer Basics
Stamps:   Reverse Confetti "Dream in Color";    Backgrounds:  My Favorite Things DC Abstract Art, 
Jumbo DC Abstract Art;   Stampin Up Gorgeous Grunge
Dies:   Spellbinders Labels 25;   Sizzix Flowers Branches & Leaves
Punch:   Martha Stewart Royal Butterfly          Flowers:   Wild Orchid Crafts          Lace pieces:   Prima
Miscellaneous:   Distress Inks, Wilton doily, hemp twine, Diamond Stickles, white craft paint


Thanks so much for stopping in for a visit...I hope your week is starting with a smile!


Related Posts Plugin for WordPress, Blogger...