Wednesday, May 28, 2014

LOTV - Dare to Dream

Hello, there! A little "summer break" is over now, and I'm getting back in my craft room to turn out some finished projects again. :)  I made this card up a bit ago, but with some recent distractions, almost forgot that I hadn't posted it yet.

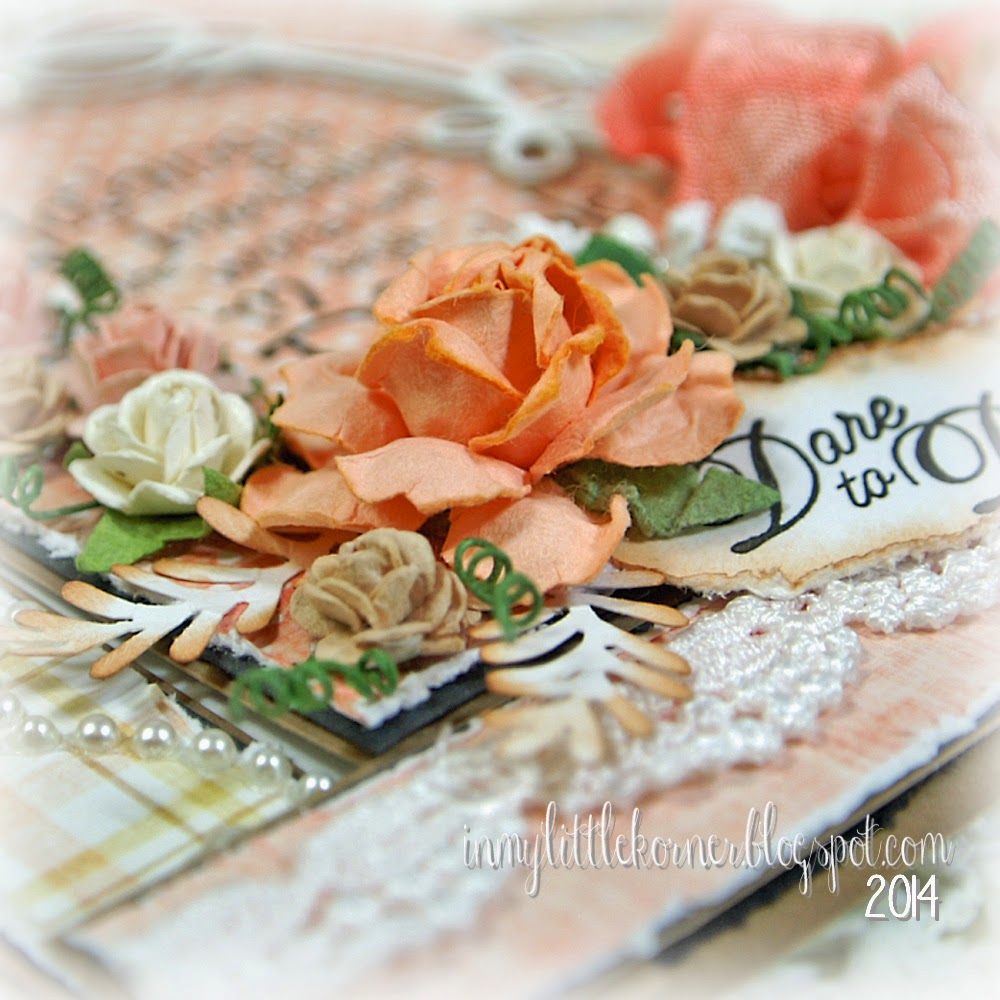
It's a center-step card, made with graduations in mind, using an encouraging quote/sentiment from LOTV's Quotables / Go For It set, patterned papers from the Bear Necessities pad, and a second, smaller sentiment from the Inspirational Sentiments stamp set...


The floral cluster starts with a large orange rose, surrounded by smaller roses, punched branches, a cluster of stamens, and large dyed seam binding bows loosely draped in the opposite corner. The whole cluster anchors the bottom of a large die cut oval frame. One frame was die cut from tan cardstock and slightly offset from the top white die cut frame, adding some dimension with a light shadow effect...


Once I had the floral cluster finished, I thought the upper corners needed something to counteract the "weight" of the large florals. But the corner die cuts I had weren't working for me...so to the "tool chest" I went...and in one of the drawers I found a couple of these (so glad I didn't purge them in my "great winter cleanout" of my supplies!)...


I cut it in half diagonally using my Tim Holtz Tonic shears...then used Vintaj Patinas and Caramel Alcohol Ink to get the pieces to just the right combination of color and shabbiness before gluing them to the corners of the card using Glossy Accents...


Supplies:
Patterned papers:   Lili of the Valley Bear Necessities paper pad
Stamps:   Lili of the Valley Set 63, Quotables/Go For It;  and Inspirational Sentiments
Die:   Memory Box Tiffany Frame
Punch:   Punch Bunch Large Fern          Lace:   TheFunkieJunkie.com
Flowers and stamens:   Wild Orchid Crafts              Pearls:   Recollections
Miscellaneous:   Hug Snug seam binding, craft store metal corner, Vintaj Patinas and Caramel Alcohol Ink


Thanks for stopping by today...I hope your week is going well!


Tuesday, May 13, 2014

Soft and Flowery...

Happy Tuesday, all!  Before I show you some pictures, I want to congratulate Claire H, who left a comment on my Fairy Blog Hop card last week, and is one of the two randomly drawn lucky winners of the complete set of 10 new fairy stamps. I know you'll enjoy your prize, Claire!

Today's card is one of the Mother's Day cards that traveled across the miles for Sunday's holiday. Made with pastel blue and white cardstocks, it's filled with diecut details and lots of flowery accents...


The inside has more of the diecut detailing, except that the center portion was left open for the sentiment and personal note...


The large center flower is lilac and grey...I dry-brushed some light touches of white craft paint around the edges...


Supplies:
Dies:   Spellbinders A2 Tranquil Moments and Foliage Two
Large flowers:   Prima;  Melissa Frances
Paper roses, sweetheart blossoms:   Wild Orchid Crafts
Lace:   TheFunkieJunkie.com               Pearls:   Recollections          
Miscellaneous:   Maya Road chipboard clock, Hug Snug seam binding


Thanks for stopping by for a visit today...I hope your week started with a smile!


Saturday, May 10, 2014

LOTV - Success is Natural...

Happy 10th Birthday, Lili of the Valley! Today's the day of the big celebration at the Leeds shop, with new products being available for purchase, demos by design team members from around the globe, and an online party for those unable to attend in person. It's a fun day! I hope you'll have some time to participate in some of the fun. If you'd like to join in on the online festivities, head on over to LOTV's  Facebook page, click on the "Events" button, then "Join" at the virtual party tab.

The card I'm sharing today is a card of encouragement and congratulations, with a sentiment that's perfect for not only the celebration going on at LOTV, but also appropriate for a high school/college/university graduation card. I've featured patterned papers from LOTV's Antebellum  (pink sentiment block), Country Lady  (white floral), and Beach Bliss (green background) paper pads for the backgrounds...


with a large floral cluster of pink and white roses, sweetheart blossoms, pearls, and lace, all atop a swirly, leafy flourish...


and a large sentiment from Set 63, Quotables/Go For It at the center of it all...


Supplies:
Patterned papers:   LOTV Antebellum, Country Lady, and Beach Bliss collections
Sentiment stamp:   LOTV Set 63, Quotables/Go For It
Dies:   My Favorite Things Four Corners and Leaf-Filled Flourish
Flowers, stamens:   Wild Orchid Crafts
Pearls:   Recollections          Lace:   TheFunkieJunkie.com


Thanks for visiting...hope you're able to join in on the birthday fun some time today! Have a wonderful weekend...


Tuesday, May 6, 2014

LOTV - Birthday Fairy Blog Hop!

Good Wednesday morning, everyone - it's time for another Lili of the Valley blog hop! This time, we're celebrating the release of 10 new Birthday Fairy stamps that will be available for purchase on the LOTV website starting at 10AM (UK time) on Saturday, May 10, as we celebrate LOTV's 10th birthday. (Notice the "10" theme going on here? )

The shop in Leeds is open Saturday for the birthday celebrations. There will be so much going on, and design team members from all over the world will be there, along with new products, demonstrations, and special offers throughout the day.  It's going to be a fun day!

If, like me, you're unable to get to the shop in person, fret not...there will be some online fun going on and details will be released soon about those.  Lucy will be on LOTV's Facebook site throughout the day, bringing you news, chats, and pictures of the celebration. (To join the virtual party, click on the "events" tab on the LOTV Facebook timeline page linked, and you'll see a button to join the online party.)

And now for the hop details. Simply travel from one blog to another, following the links on each post, for some fun inspiration using the new images.

As always, we'll have some hidden prizes along the way. Two winners will be randomly drawn from all comments left on the participating blogs. Even we design team members don't know who the "lucky blogs" are, so make sure to comment on each one to give yourself the best chance of having your name drawn as one of two lucky winners of a full set of the new Birthday Fairy stamps!

The two lucky winners will be announced on the Ideas to Inspire blog on Saturday morning!

Here's the linked up list of blogs participating today...


Kathy (you're here!)
Lou

As you may already know if you've "hopped" with us before, my focus on the team is the use of the beautiful papers and the sentiment stamps. Today my card is showing off the beautiful and spring-filled colors of the Promises patterned papers and coordinating Promises solids, and uses Sketch #10 from the I2I blog as inspiration for the layout...


For the sentiment circle snuggled in among the flowers, I used Set 9, Mixed Circular Sentiments, and for the sentiment in the upper right, Set 25, Handwritten Phrases...


This little butterfly is from Set 66, Grunge Elements...it's colored with Spectrum Noir pens, and sparkled up with Crystal Stickles and a few little pearls...

Patterned papers:   LOTV Promises and Promises Solids
Stamps:   LOTV Set 9/Mixed Circular Sentiments,  Set 25/Handwritten Sentiments,   Set 66/Grunge Elements
Dies:   Spellbinders A2 Scalloped Borders Two;  My Favorite Things Leaf-Filled Flourish;   
Poppy Stamps Massa Leaf Background
Flowers:   Wild Orchid Crafts          Lace:   TheFunkieJunkie.com          Pearl spray:   local craft store          
Pearls:   Recollections          Clay corners:   Martha Stewart mold and air dry clay


Your next stop on the hop is a visit to Crafty Lou's for some more fairy stamp inspiration.  Remember to stop by the I2I (Ideas to Inspire) blog on Saturday to see if you're one of the two lucky winners.

Thanks for stopping in for a visit...have fun, and good luck, on the hop!


Wednesday, April 30, 2014

A Soft and Shabby Hello...

Today I'm taking a break from the bright and colorful cards I've been posting recently, and sharing a soft, muted, and shabby card.

When I was peeking at the current Tic-Tac-Toe challenge over at The Shabby Tea Room, I realized I had a half-finished card sitting on my work surface that could be a perfect fit for this challenge.. in fact, it completes the tic-tac-toe board in a couple different directions (pennants/pearls/gingham and pennants/ribbon/vintage trims). :) It's been much too long since I participated in a TSTR challenge...it was time to say hello again to one of the first challenge sites I participated in!

So I got to work adding a banner to the side of the floral cluster, and some ribbon beneath it, and I ended up with a design I liked even better than the original design I was going to go with...I hope you like it, too!


On the top piece of patterned paper, I used a stencil and some crackle texture paste, then stamped a speckled pattern around the piece.

To add contrast to the soft, muted shades of the patterned papers, I added roses in complementary shades, but deeper intensities, along with some bright white...


I added a double row of the same lace across the pennant, except that one piece is tea-dyed...


Supplies:
Patterned papers:   Maja Designs Vintage Summer Basics
Dies:   Sizzix Flowers Branches & Leaves 
Stamps:   Winnie & Walter/The Big, The Bold, and The Happy ("hello");   Stampin Up! Gorgeous Grunge
Stencil:   Memory Box Honeycomb          Lace:   TheFunkieJunkie.com          Flowers:   Wild Orchid Crafts
Pearls:   Recollections          Ribbon:   local craft store          Clay frame:   Martha Stewart mold and air-dry clay
Miscellaneous:   Studio 490 Crackled Texture Paste


Thanks for visiting today!


Monday, April 28, 2014

Color....COLor...COLOR!...

Happy Monday, everyone! After a short break, I'm back to creating a bit more regularly now, and I'm having some fun in my craft room again.

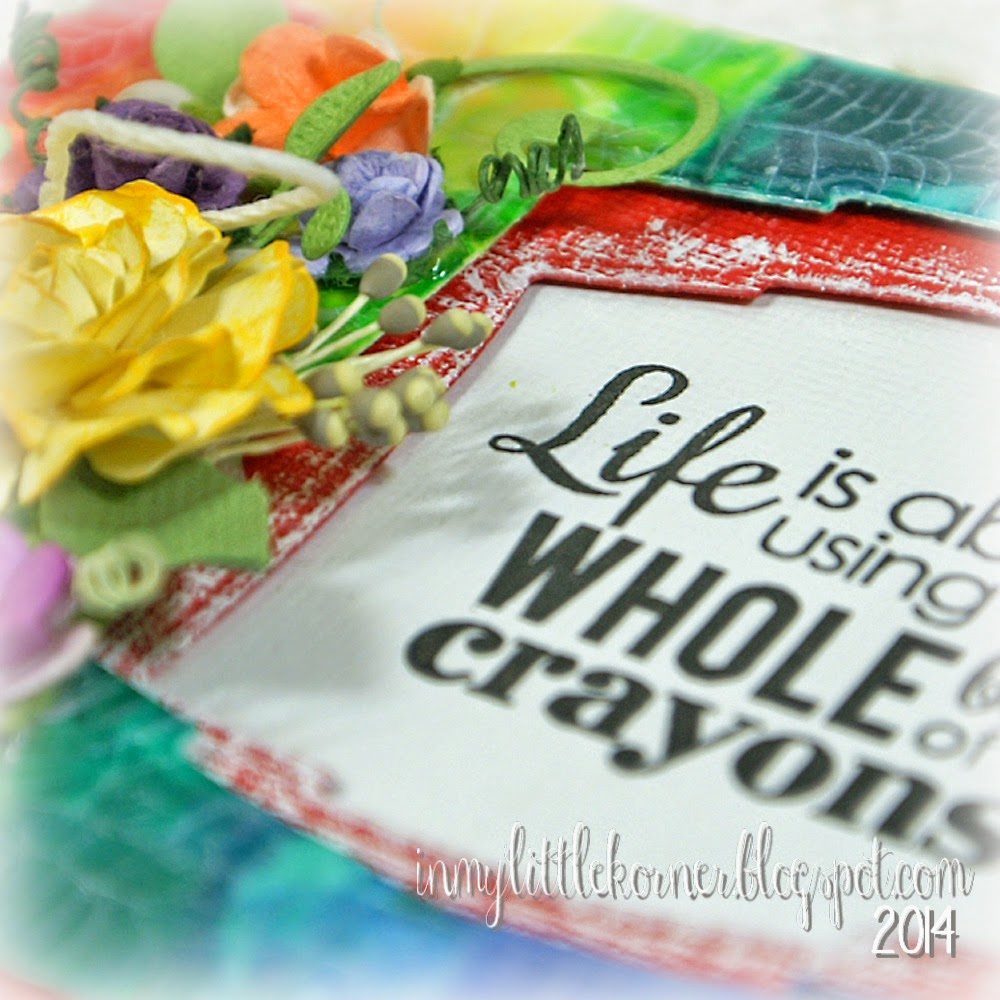
Recently, I purchased some fun sentiments from Reverse Confetti, and when I saw the sentiment on the first card, I knew exactly what I wanted to play with! It's been a long time since I played with crayons...even longer since I played with melted crayons. But the sentiment stamp was just begging for this to happen again...


Years ago during a sale at a local big box craft store, I loaded up on boxes of crayons, specifically for crafting. A peek in my closet of supplies revealed I still had 3 boxes left....perfect for what I wanted to do as my background for this sentiment stamp! 

I used a piece of cold press watercolor paper, cut slightly smaller than the front of the card so I could mat it over another layer before attaching it to the front of the card. The watercolor paper is nice and heavy, and is a bit more absorbent than cardstock, which is a good characteristic to have in this case.


I taped a rainbow-array of crayons together using painter's tape, and taped them to an old wooden cutting board that I keep handy for crafty purposes. (I used the board this time because it's easier to lift one side of the board as I melt the crayons, allowing the wax to drip down the front of the piece of watercolor paper). The red on the side was my "test run" to see if the wax would drip the way I wanted it to...once I knew it would, I placed all the crayons on top of the piece and was ready to start heating and melting. I stamped the sentiment and taped it down so I'd have a blank space to do the final sentiment stamping after the wax was melted. (In the end, it didn't matter, because I decided to do offset die-cut shapes instead.)


And then the fun started. Slowly, I melted the crayons, lifting one side of the cutting board up slightly so the wax would drip down the front of the piece. If you look back at the finished front, you can guess what step was next. I lightly and carefully reheated the dripped wax, and this time, instead of being careful to keep the heat gun in position to melt the wax straight down the front, I moved it back and forth a bit, so some of the wax moved sideways, covering all the white space and blending a bit with the colors to either side.

When it dries, you have a blended coating of colored wax on the card front piece - and a bit lumpy in places where it pooled - but no worry, that will be remedied with the next step. :)  

Now it was time to die cut a shaped opening for the sentiment. The die easily cut through the watercolor paper and crayon wax, and in the process, flattened out all the lumpy parts caused by the dripping wax. (The only thing I "measured and matched" here was to make sure I tilted the top die the direction and angle I wanted - I decided to tilt both diecuts in opposite directions as a fun change to keeping them straight.)

The final steps were to add a coat of clear crackle finish, and when that dried, some Picket Fence Distress Stain over the crackles to emphasize them.

All that was left was to mat another piece of die cut colored cardstock beneath the wax piece, and adhere both to the card base. (I used foam tape between all the layers to give some dimension to the sentiment area.) 

Diecuts, flowers, lace, pearls...time to have fun with some colorful embellishments! The large yellow rose is made with Spellbinders' Rose Creations die...


Supplies:
Stamps:   Reverse Confetti "Dream in Color"
Dies:   Spellbinders Labels Two;   Spellbinders Rose Creations;   My Favorite Things Leaf-Filled Flourish
Flowers:   Wild Orchid Crafts          Lace:   TheFunkieJunkie.com          Pearls:   Recollections
Miscellaneous:   crayons, twine, Picket Fence Distress Stain, DecoArt One-Step Crackle Finish, white craft paint


The second card, made with a different group of sentiment stamps from the same Reverse Confetti set, came out totally different...colorfully shabby and fun. This time, I took a piece of text patterned paper, and stamped it with watercolor shapes from a few different sets of stamps, and used that as the base of the card.

I stamped the sentiment onto a die-cut piece of watercolor paper, then used Distress Inks to "watercolor" patches of color over each of the larger letters in the sentiment...


I pulled the colors from the background to watercolor the sentiment block, and used those same colors within the floral cluster...


The little butterfly was punched from pink cardstock and purple patterned vellum, then touched up with a light dusting of Diamond Stickles...


Supplies:
Patterned paper:  Maja Designs Vintage Summer Basics
Stamps:   Reverse Confetti "Dream in Color";    Backgrounds:  My Favorite Things DC Abstract Art, 
Jumbo DC Abstract Art;   Stampin Up Gorgeous Grunge
Dies:   Spellbinders Labels 25;   Sizzix Flowers Branches & Leaves
Punch:   Martha Stewart Royal Butterfly          Flowers:   Wild Orchid Crafts          Lace pieces:   Prima
Miscellaneous:   Distress Inks, Wilton doily, hemp twine, Diamond Stickles, white craft paint


Thanks so much for stopping in for a visit...I hope your week is starting with a smile!


Related Posts Plugin for WordPress, Blogger...