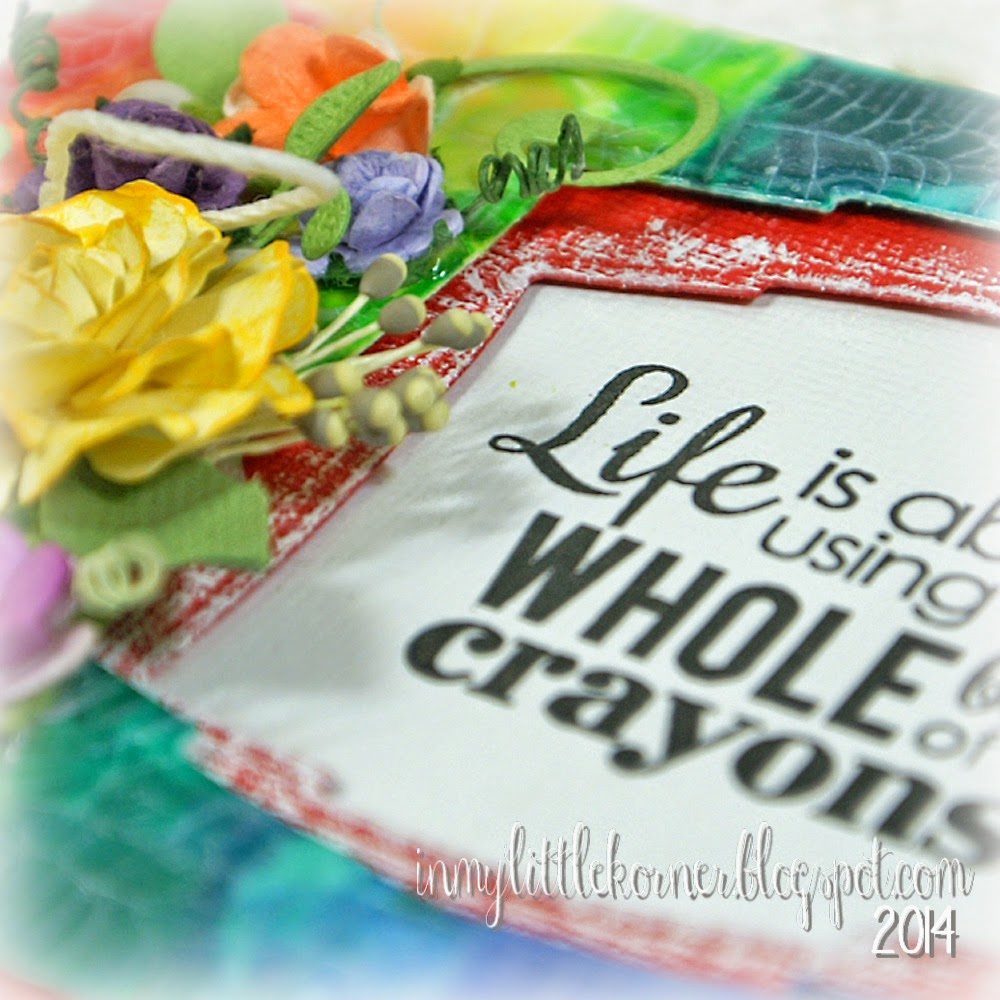
Recently, I purchased some fun sentiments from Reverse Confetti, and when I saw the sentiment on the first card, I knew exactly what I wanted to play with! It's been a long time since I played with crayons...even longer since I played with melted crayons. But the sentiment stamp was just begging for this to happen again...
Years ago during a sale at a local big box craft store, I loaded up on boxes of crayons, specifically for crafting. A peek in my closet of supplies revealed I still had 3 boxes left....perfect for what I wanted to do as my background for this sentiment stamp!
I used a piece of cold press watercolor paper, cut slightly smaller than the front of the card so I could mat it over another layer before attaching it to the front of the card. The watercolor paper is nice and heavy, and is a bit more absorbent than cardstock, which is a good characteristic to have in this case.
I taped a rainbow-array of crayons together using painter's tape, and taped them to an old wooden cutting board that I keep handy for crafty purposes. (I used the board this time because it's easier to lift one side of the board as I melt the crayons, allowing the wax to drip down the front of the piece of watercolor paper). The red on the side was my "test run" to see if the wax would drip the way I wanted it to...once I knew it would, I placed all the crayons on top of the piece and was ready to start heating and melting. I stamped the sentiment and taped it down so I'd have a blank space to do the final sentiment stamping after the wax was melted. (In the end, it didn't matter, because I decided to do offset die-cut shapes instead.)
And then the fun started. Slowly, I melted the crayons, lifting one side of the cutting board up slightly so the wax would drip down the front of the piece. If you look back at the finished front, you can guess what step was next. I lightly and carefully reheated the dripped wax, and this time, instead of being careful to keep the heat gun in position to melt the wax straight down the front, I moved it back and forth a bit, so some of the wax moved sideways, covering all the white space and blending a bit with the colors to either side.
When it dries, you have a blended coating of colored wax on the card front piece - and a bit lumpy in places where it pooled - but no worry, that will be remedied with the next step. :)
Now it was time to die cut a shaped opening for the sentiment. The die easily cut through the watercolor paper and crayon wax, and in the process, flattened out all the lumpy parts caused by the dripping wax. (The only thing I "measured and matched" here was to make sure I tilted the top die the direction and angle I wanted - I decided to tilt both diecuts in opposite directions as a fun change to keeping them straight.)
The final steps were to add a coat of clear crackle finish, and when that dried, some Picket Fence Distress Stain over the crackles to emphasize them.
All that was left was to mat another piece of die cut colored cardstock beneath the wax piece, and adhere both to the card base. (I used foam tape between all the layers to give some dimension to the sentiment area.)
Diecuts, flowers, lace, pearls...time to have fun with some colorful embellishments! The large yellow rose is made with Spellbinders' Rose Creations die...
Supplies:
Stamps: Reverse Confetti "Dream in Color"
Dies: Spellbinders Labels Two; Spellbinders Rose Creations; My Favorite Things Leaf-Filled Flourish
Flowers: Wild Orchid Crafts Lace: TheFunkieJunkie.com Pearls: Recollections
Miscellaneous: crayons, twine, Picket Fence Distress Stain, DecoArt One-Step Crackle Finish, white craft paint
The second card, made with a different group of sentiment stamps from the same Reverse Confetti set, came out totally different...colorfully shabby and fun. This time, I took a piece of text patterned paper, and stamped it with watercolor shapes from a few different sets of stamps, and used that as the base of the card.
I stamped the sentiment onto a die-cut piece of watercolor paper, then used Distress Inks to "watercolor" patches of color over each of the larger letters in the sentiment...
I pulled the colors from the background to watercolor the sentiment block, and used those same colors within the floral cluster...
The little butterfly was punched from pink cardstock and purple patterned vellum, then touched up with a light dusting of Diamond Stickles...
Supplies:
Patterned paper: Maja Designs Vintage Summer Basics
Stamps: Reverse Confetti "Dream in Color"; Backgrounds: My Favorite Things DC Abstract Art,
Jumbo DC Abstract Art; Stampin Up Gorgeous Grunge
Dies: Spellbinders Labels 25; Sizzix Flowers Branches & Leaves
Punch: Martha Stewart Royal Butterfly Flowers: Wild Orchid Crafts Lace pieces: Prima
Miscellaneous: Distress Inks, Wilton doily, hemp twine, Diamond Stickles, white craft paint
Thanks so much for stopping in for a visit...I hope your week is starting with a smile!


Lovely and bright ...happy crafting ...
ReplyDeleteBeautiful cards !! I loved the colorful bg on first one.Fab use of crayons n crackle accent over it.Thanks for the step photos..
ReplyDeleteWOW this is bursting with colour - fabulous. Hugs, Claire x
ReplyDeleteYour cards are absolutely vibrant with color and love the flowers too.. brilliant!!
ReplyDeleteOh wow, these are absolutely magical. I love the sentiments and bright colours - so uplifting! - and your embellishments are gorgeous.
ReplyDeleteRebecca.