Showing posts with label Impression Obsession. Show all posts

Friday, October 2, 2015

For the Holidays...

It's Friday, and time to close out the week with a couple more Christmas cards for the upcoming holidays. I did make a couple of each of these designs, so my collection is slowly building for this year...and it's a good feeling to be getting these done early!

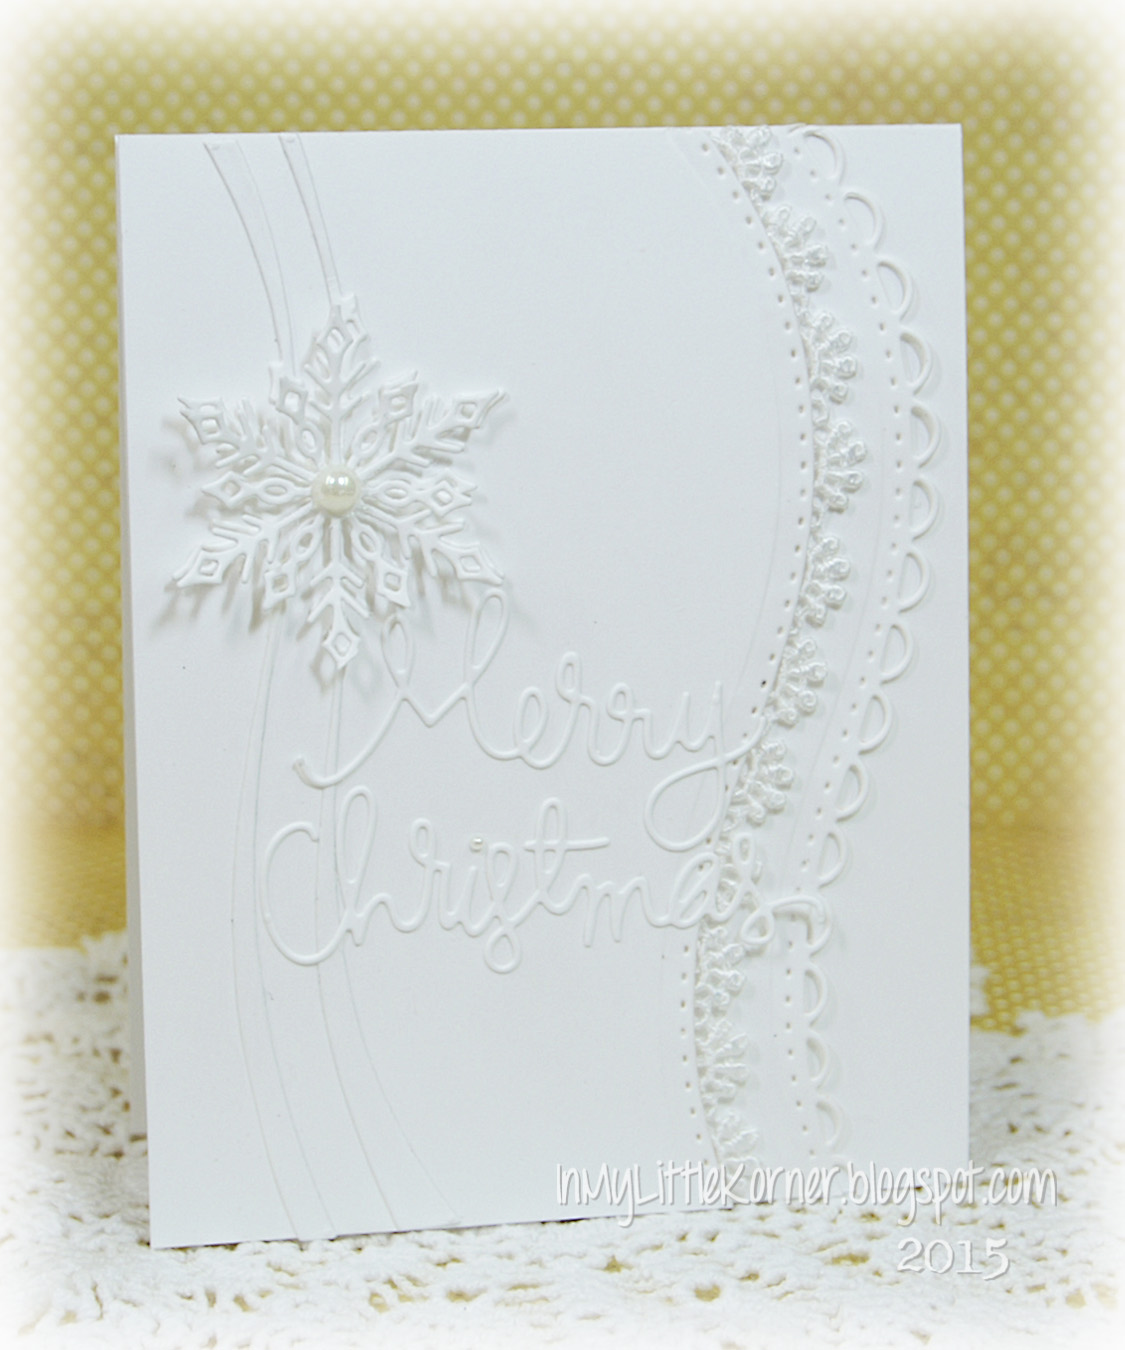
We finally had a bit of very much needed and welcome rain this week in Northern California, so it only seems fitting to show you the "Joyful" card first! :)


The embossed background is accented with Pumice Stone Distress Ink, and as I've done before with this LaLa Land Crafts diecut, the street lamp is accented with Inka-Gold "Old Gold" metallic paint, and simply accented with branch punches, narrow ribbon, and a tiny bell...


The diecut sentiment words are accented with a gold gel pen...


Supplies:
Dies:  LaLa Land Crafts "Street Lamp";   Memory Box "Star of Wonder";   Paper Smooches "Christmas Words"
Punch:  Martha Stewart "Medium Branch"            Embossing folder:  Tim Holtz "Bricked and Woodgrain"
Pearls:  Recollections         
Miscellaneous:   ribbon, mini bell,  Pumice Stone Distress Ink,  Viva Inka-Gold "Old Gold", gold gel pen


The second of today's cards is a bit more shabby, with a bit more detail and lots of diecuts...


The little diecut poinsettia is surrounded with a holly diecut, and a twig wreath adorned with punched branches, clear red gems, and sparkly snow...


and a little pearl flourish pointing the way to another flourish die cut in the corner...


Supplies:
Patterned papers:  Graphic 45 "Christmas Past" and "Twelve Days of Christmas"
Dies:  LaLa Land Crafts "Pretty Poinsettia" and "Filigree Corner";  Memory Box "Holly Flourish";  Impression Obsession "Twig Wreath"
Punch:  Martha Stewart "Medium Branch"            Glitter dot:  Pebbles            Red gems:   Kaisercraft
Pearls:   Recollections          Miscellaneous:  white wire,  "Golden Rod" Stickles;  DecoArt Glistening Snow-tex


Thanks for stopping by for a visit...have a wonderful weekend!


Friday, September 18, 2015

Getting a (late) Head Start...

A couple months ago, a sweet friend asked if I would make up some Christmas cards for her...we joked about "Christmas in July"...then real life continued to take up what used to be crafty time, and "Christmas in July" turned into "Christmas in September." But hey, we're still ahead of the game, right? And if I work on it a little here and a little there (which fits perfectly with my schedule these days), there might be a sizable collection of Christmas cards in our baskets, ready for sending at Christmas time.

Here are a couple of the first designs for this year. I usually make 1-2 of each design, with just a slight change in each so they're technically "one-of-a-kind." The first two are pretty simple in design, so they leave room for easy additions and/or changes to individualize them as I construct them.

I love white-on-white designs, so I usually include at least one each season...this was a fun one...


The ribbon snowflake die inspired me to pull out a couple of my curved border dies, and the lines blended pretty nicely. I used some foam tape under each of the curved border pieces so there's a bit of dimension to the card without adding a lot of bulk...


Then I double-cut the snowflake portion of the die, and adhered the second over the first with a foam dot under the center...

Supplies:
Dies:   Poppystamps "Snowflake Ribbon";   Simon Says Stamp "Merry Christmas";   Spellbinders "Curved Borders One"
Scalloped Lace:   TheFunkieJunkie.com             Pearls:   Recollections


The second card is basically another white-on-white with green accents. :)  The green patterned paper is die cut in the center with a scalloped oval, and popped up over the white base with foam tape to create a well in the center.  The pine branch diecuts are adhered to the white base, then the poinsettia and berries dies are adhered to the green patterned piece at the top of the well...


I love to attach single gems to the centers of flowers, but sometimes there isn't enough flower petal surface area to attach them securely. So I resort to my old trick of holding them down with Stickles glue...sort of a two-for-one solution...I get the glitter around the gem, and lots of glue to hold it in place...


The temps are still near 100 degrees around here, but I was in the mood for some snow. :)  I added a bit of glitter and Stickles to the berry and pine branch dies, then put the finishing touch of Snow-Tex over both...


Supplies:
Patterned paper:   Graphic 45 "Twelve Days of Christmas-Patterns & Solids"
Dies:   Spellbinders "Beaded Ovals";   Memory Box "Holly Winterberries";   Poppystamps "Fancy Celebrate";   
Impression Obsession "Pine Branch";   La-La Land Crafts "Pretty Poinsettia"
Gems:   Creative Imaginations             
Miscellaneous:   DecoArt Glistening Snow-Tex,  Martha Stewart Clear Coarse Glitter,  "Star Dust" Stickles


Thanks so much for visiting today...have a wonderful weekend!


Monday, September 15, 2014

Autumn Blessings...

Happy Monday! Even though temps are still near 100 degrees around here, it's almost officially fall, and I'm in the mood for some fall colors...how about you?

Today's card is made in traditional fall tones of brown, rust, and tan, with a single dark purple accent for fun...


If you've been looking in here at the blog for a while, you might recognize that twig wreath...I used one like it last season, only with a totally different color scheme in the background. This year, I've added some more accents to it, and backed it with a large, more formal die cut that I've shabbied up by accenting it with Vintage Photo Distress Ink.

I added an embellished stick pin and a small purple twine bow at the top of the heart and flower cluster this time around...


and this year, all the leaves are accented with Cinnamon Stickles...


I printed the sentiment on my computer and die cut a tag for it before tucking in it under the heart flower cluster...


Supplies:
Patterned papers:   Glitz Designs French Kiss collection
Dies:   Spellbinders Gold Majesty Circles;   Impression Obsession Twig Wreath;   My Favorite Things Royal Leaves;
Xyron ShapeZ-Heart;   Sizzix Flowers Branches & Leaves
Pearls:   Recollections            Miscellaneous:   Cinnamon Stickles,  stick pin,  purple twine


Thank you for stopping by for a visit today...I hope your week is starting with a smile!


Tuesday, July 29, 2014

LOTV - It's a Christmas Blog Hop!

Good morning, everyone. Things have been a little too quiet here on my blog, but rest assured, work is going on behind the scenes and new projects to share are happening!

Today's the day for Lili of the Valley's Christmas blog hop to celebrate the launch of wonderful new Christmas products. This is a big release - 22 new character stamps - vintage boys & girls, snowmen, penguins, and angels;  4 new beautiful Christmas paper pads; new clear Christmas sentiments; clear Christmas carols and recipe stamps; and some new mini images. Sharpen up that list-making pencil - I have a strong feeling you're going to need it! :)

The new stamps and papers will be available on the LOTV website starting at midnight Friday, August 1 (UK time) (that's late afternoon Thursday for most of us in the US, except for Hawaii where it's earlier in the afternoon LOL).

As before with the hops, there are fabulous prizes up for grabs, with winners to be drawn at random from the comments of the participating blogs. Even we don't know whose blogs are the "lucky" ones, so to increase your chances of winning in the drawing from comments, hop from one blog to the next and leave a comment on each one!

This time there's one prize drawing for the 12 angel, penguin, and snowmen stamps. The second drawing is for the 10 vintage children stamps. Both winners will be drawn at random from all the comments left on the lucky blogs, and winners will be announced Thursday evening on the Ideas To Inspire blog.

Here's a linked list of all the blogs taking part...

Kathy (you're here!)
Lou

And here's my card. I used patterned papers from the new Festive Trimmings paper pad, and one of the sentiments from the new clear Christmas wishes sentiment sheet, along with lots of fun holiday dies for a frosty winter scene:


In the corner, a large die cut poinsettia, sprinkled with clear coarse glitter and with tiny bells to simulate the yellow stamen center...


The new LOTV Christmas sentiment stamp is in a straight line on the stamp sheet, but one of the reasons I love clear sentiment stamps is the versatility of being able to shape them the way you want. I "waved" this one on the stamp block, and stamped it onto a tattered banner die cut (that I tattered just a bit more and edged with clear glitter)...


I used lots of foam tape for dimension on this card...the green star Festive Trimmings paper is the only one adhered directly to the card front. The white frame layer is popped up from the green star paper, the trees are adhered with foam tape, the deer and the green dotted Festive Trimmings paper are popped up from the white frame, and finally the banner is popped up from the green frame paper. It all forms natural shadows and interest to the overall scene...


Supplies:
Patterned papers:  LOTV *new* Festive Trimmings
Sentiment stamp:   LOTV *new* A5 Christmas Wishes clear stamp
Dies:   Spellbinders Labels Two and Layered Poinsettia;   Impression Obsession Birch Trees,
Deer Trio, and Pine Branch;   Tim Holtz Tattered Banners
Twine:   The Twinery / Red Shimmer      
Miscellaneous:   Glistening Snow-Tex;   Shabby Blue Frantage embossing powder


Your next stop is Crafty Lou's blog to see the beauty she has for you.  And don't forget to stop by the Ideas to Inspire blog Thursday to see if you're one of the lucky winners of the two prizes.

Enjoy the hop, and good luck everyone!


Thursday, December 12, 2013

A Call for a C.A.S.E...

Time is passing just a little too quickly these days...I'm starting to feel like a little hamster on a wheel spinning to nowhere...heehee. But after talking to a few of my friends, it seems I'm not alone this year. It's time to take a deep breath, start crossing things off my "to-do" list one way or another, and take some time to enjoy the true meaning of this season. It's time to turn the holiday preparations left on the list into a source of fun, and not just "to-do" items.

So, in the interest of that, and being in a temporary creative block the other day, I decided to turn to one of the creative blogs that never ceases to inspire me, and that's Kittie's. Kittie's use of die cuts is something I've admired for quite a while, and this time, I used one of her cards here as inspiration. For all intents and purposes, I CASE'd the design of her card. I did, from what it appears, do a bit of a different card size, and changed the border frame, thereby requiring fewer trees, but there's no mistaking that my design came from her beautiful card...


The inked background trees were made using the negative space of the tree die cuts as a stencil. I  accented the small die cut trees with Viva Decor Ice White Pearl Pen and clear coarse glitter, and applied Frantage Vintage White embossing powder on the large trees. The front tree was decorated to more represent a living Christmas tree, using red Stickles to simulate berry clusters (or ornaments if you'd prefer to think of them that way)...


There's a die cut star for the tree top, covered with gold glitter. 


Supplies:
Dies:  Spellbinders Romantic Rectangles, and Create-a-Flake Three;   Impression Obsession Fir Trees, and Deer Trio
Christmas Red Stickles          Stampendous Frantage Vintage White embossing powder
Viva Pearl Pen, Ice White          Clear coarse glitter


In the end, I have a finished card made with nothing but cardstock, ink, die cuts, and embossing powder and glitter...quite a change from my usual style...but a fun change!

Thanks so much for stopping by today. I'm off to spend a day running errands, and then, hopefully, have time left to put the finishing touches on our Christmas tree. :)


Related Posts Plugin for WordPress, Blogger...